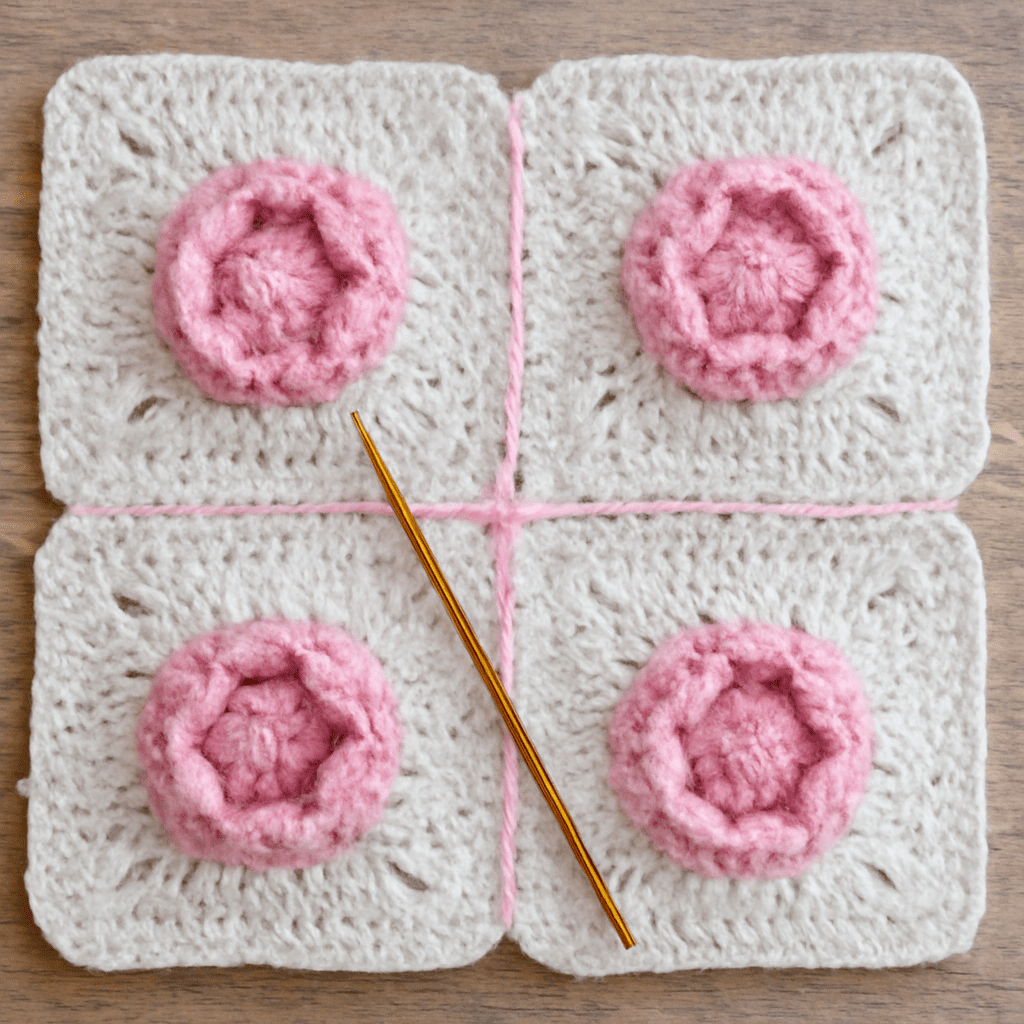
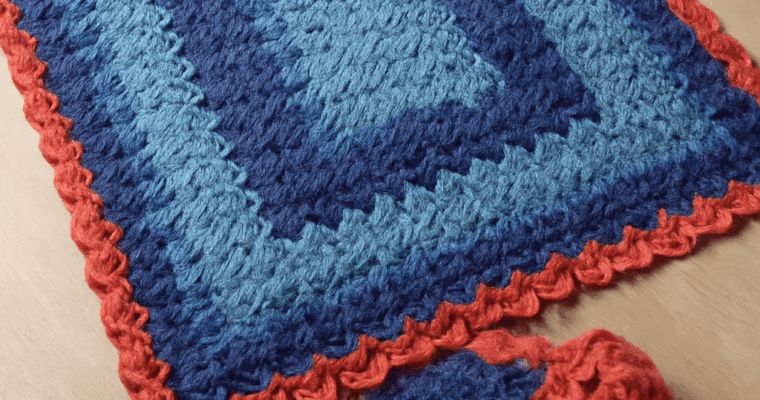
Granny squares are a classic favorite in the world of crochet, offering endless possibilities for creativity and design. Whether you’re making a blanket, a scarf, or another project, understanding how to join granny squares is essential. This guide will help you explore various methods to crochet or sew granny squares together, ensuring your final product is both beautiful and sturdy.
Materials Needed
- Yarn: Choose yarn that matches or complements your granny squares.
- Crochet Hook: A size that fits your yarn and squares comfortably.
- Darning Needle: Useful for sewing granny squares together.
- Scissors: To cut yarn and finish your work.
Preparing Your Granny Squares
Before you begin joining granny squares, ensure each square is uniform in size and shape. Block the squares if necessary, using a blocking mat and pins to gently stretch and align them. Consistent squares will make the joining process smoother and result in a more professional-looking project.
Crocheting Granny Squares Together
Crocheting granny squares together is a popular choice for those who enjoy a seamless look. Here’s how to do it:
- Choose Your Method: Popular methods include slip stitch, single crochet, and the join-as-you-go technique.
- Slip Stitch Method: Place two squares with right sides facing each other. Insert the hook through the corner stitches and slip stitch across the edges, going through both layers.
- Single Crochet Method: Similar to slip stitch, but use single crochet stitches for a more textured edge.
- Join-As-You-Go: Crochet the last round of each square while joining it to the previous square, perfect for continuous projects.
- Check Alignment: Ensure that the squares are aligned, adjusting as necessary to keep your work neat.
Sewing Granny Squares Together
If you prefer to sew granny squares together, follow these steps:
- Lay Out Your Squares: Arrange the squares on a flat surface to visualize your final design.
- Use a Darning Needle: Thread the needle with yarn and begin sewing using the whip stitch or mattress stitch for durability.
- Whip Stitch: Hold two squares together and insert the needle under the top loops of both squares, pulling tight with each stitch.
- Mattress Stitch: For an invisible seam, weave the needle in and out of the squares’ edges, pulling the yarn tight to hide the stitches.
- Tidy Up: Weave in any loose ends for a clean finish.
Finishing Touches
Once your squares are joined, consider adding a border to your project. A border not only enhances the appearance but also reinforces the edges. Choose a complementary color and use a simple stitch like single crochet or a more decorative stitch such as picot. Weave in any remaining yarn ends and give your project a final block if needed to ensure every stitch is in place.
By learning how to sew granny squares together or crochet them seamlessly, you can master the art of creating beautiful, cohesive crochet projects. Whether you choose to crochet granny squares together or opt for sewing, each method offers unique advantages to enhance your crafting experience.